Import
Adding files
Navigate to the "Import" page via the side panel.
Drop the images in the folder ~\dtag tutorial into the drop area - but not the images in the folder labeled "WALNUT".
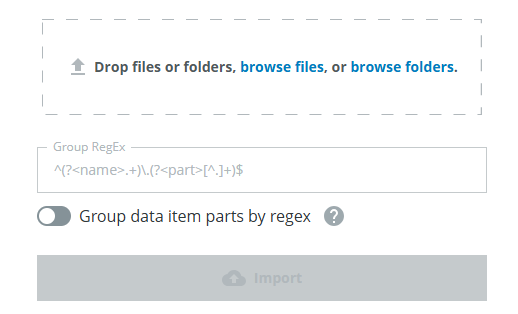
You will see the following (previews may differ):
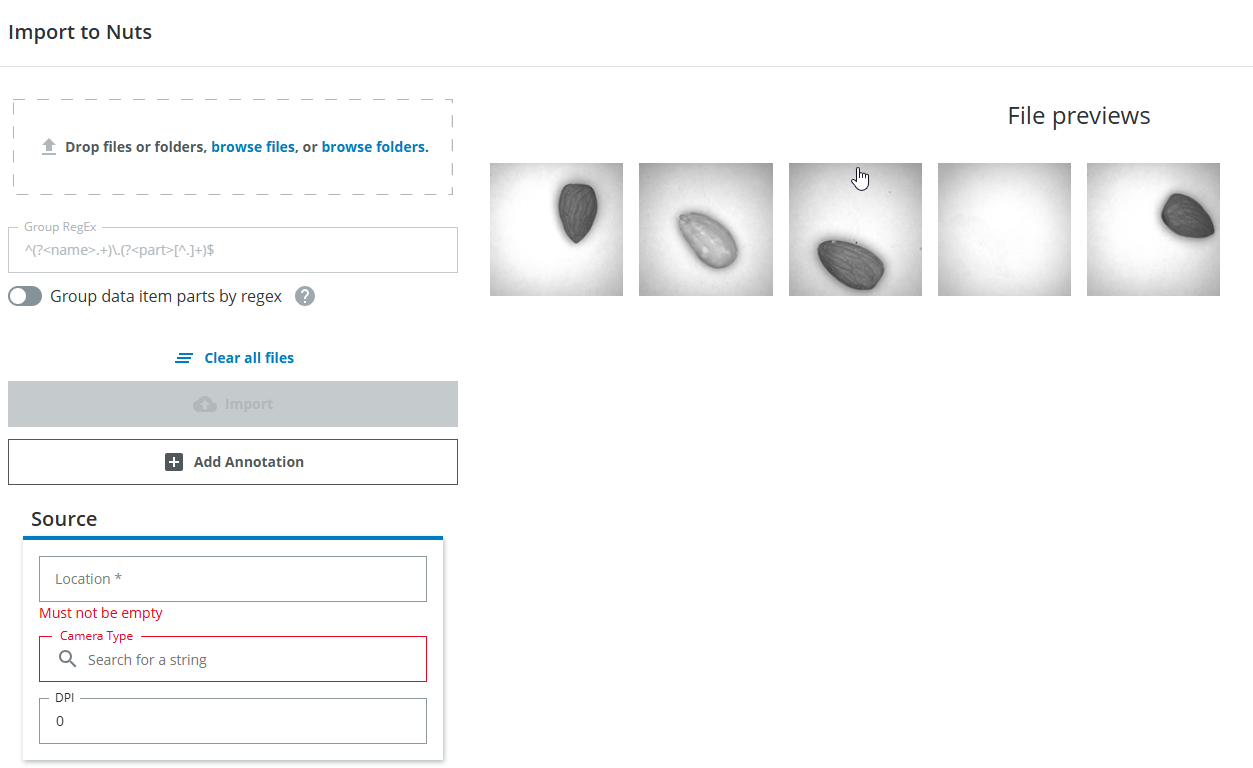
Setting Required Annotations
At the moment it is not possible to import data, first you have to add the required information (as defined previously during the domain creation, when you checked the "Required upon import" checkboxes for this group).
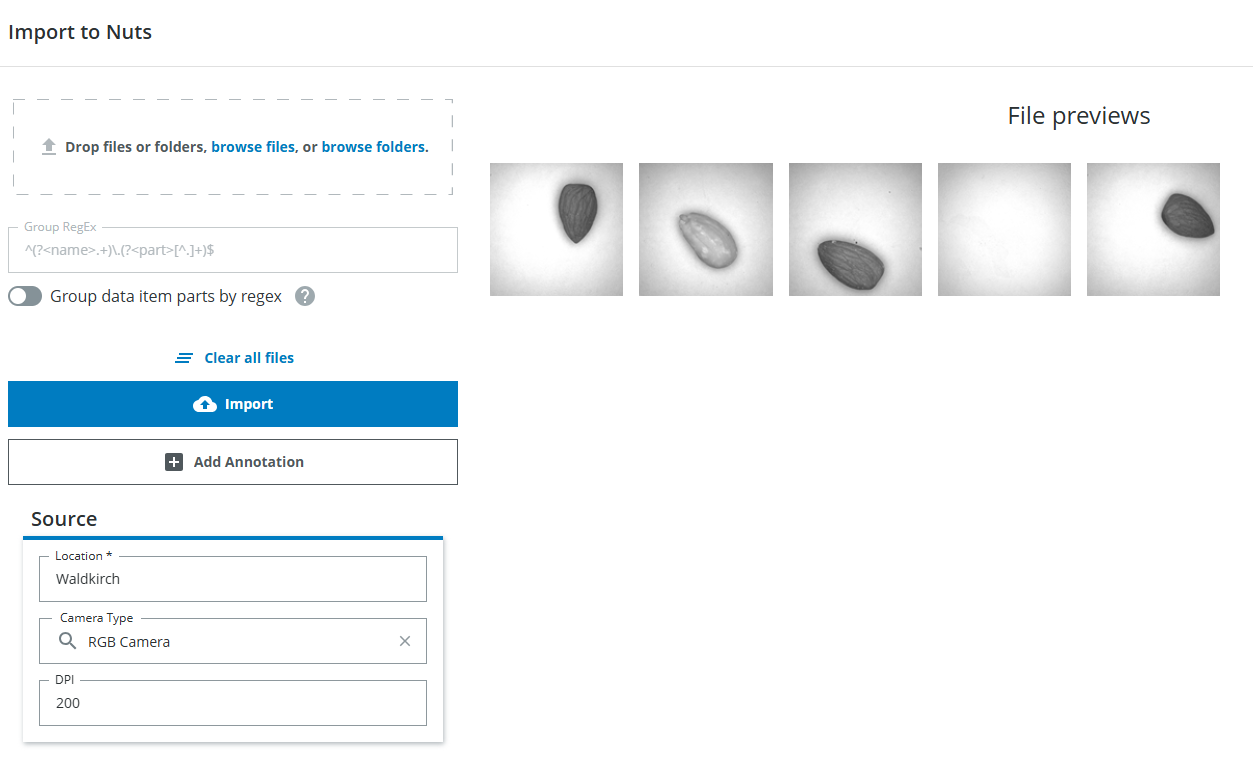
Add "Waldkirch" as Location, "Greyscale Camera" as cameratype and 200 as DPI. Then click the blue import button (which is clickable as soon as all the required information is provided).
Required Annotation
Every annotation that has been marked in the domain as "required upon import" has to be set before the import button will enable. This helps to prevent information from being forgotten that should always be available for every data item.Adding files
You can either drop a whole folder and choose to add all files in there including or excluding subfolders. You can also just drop some files. You will see a preview of 5 random example files and the number of files that are about to be imported. You can also click on "browse files" or "browse folders" to be presented an explorer dialog which lets you also choose the files you wish to import. Note: Adding the files does not finish the import, you have to click on the import button as soon as it becomes available.Import Process
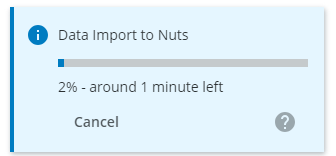
You will now see the progress bar.

You can try to import some of the same data again, but you will get the following message:

Importing data
You can minimize the progressbar and navigate away from this page if you want to. The import will run in the background. Do not reload the page otherwise the import will stop. You can rerun it and only the data that has not yet been imported will be processed. You can start multiple imports at the same time, they will run in sequence.If a mistake regarding the import has been made you can change annotations for a set of images very easily or delete them altogether using the Browser (more on that later).
Adding optional annotations
Now drop the folder labeled "WALNUT" in the drop area and choose all files to import all files in this folder and its subfolders.

You will again have to add the required information as above, but choose dpi as 150. And this time also add the annotation "Walnut" since the images only contain walnuts by clicking on the "Add annotation" button.

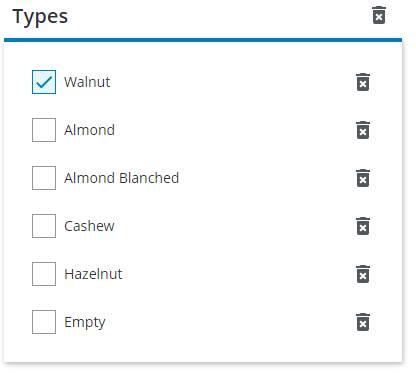
The annotations now look like this:

You can add as many annotations as you want to the set of images you are currently importing, they will be applied to all images.
Since you are absolutely sure there are only walnuts on the images and no other nuts you can add the annotations for the other types as well:
If you were not sure about any other nuts on the image, you could have also left these annotations out and annotated them later. The annotations of Almond, Almond Blanched, Cashew and Hazelnut would then have the state "not yet reviewed".
The state "reviewed"
It is important to understand, that every annotation per image (not every data item) has the state "reviewed" or "not yet reviewed". As soon as an annotation is set, meaning for example either a checkbox is checked or unchecked or a string has been entered and the annotations are saved (in this case the images are imported and saved together with the annotations) this specific annotation gets the state "reviewed". You can later filter for images that do not have all annotations reviewed yet and annotate them then.Troubleshooting
- In the beginning after the drag and drop you might encounter the following message from your browser:
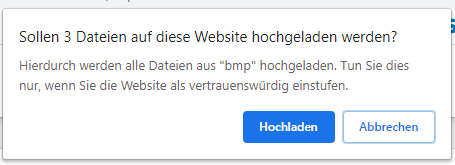
(English: Do you want to upload 3 files to this website? Buttons: Upload/Cancel) Please click on upload, but note, that this does not mean the upload is already complete.
- If you encounter a message like
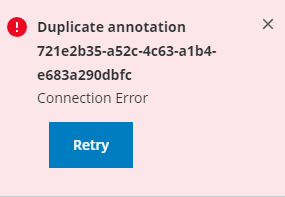
please make sure you have not set one of the automatic annotations during the import. You are not allowed to set "Misc: Importer", "Misc: Import Timestamp", "Misc: Original Filename", "Misc: Original Filepath" and "Misc: File Timestamp". These will be created automatically for every import.