Annotation
Starting the Classification Annotation Job
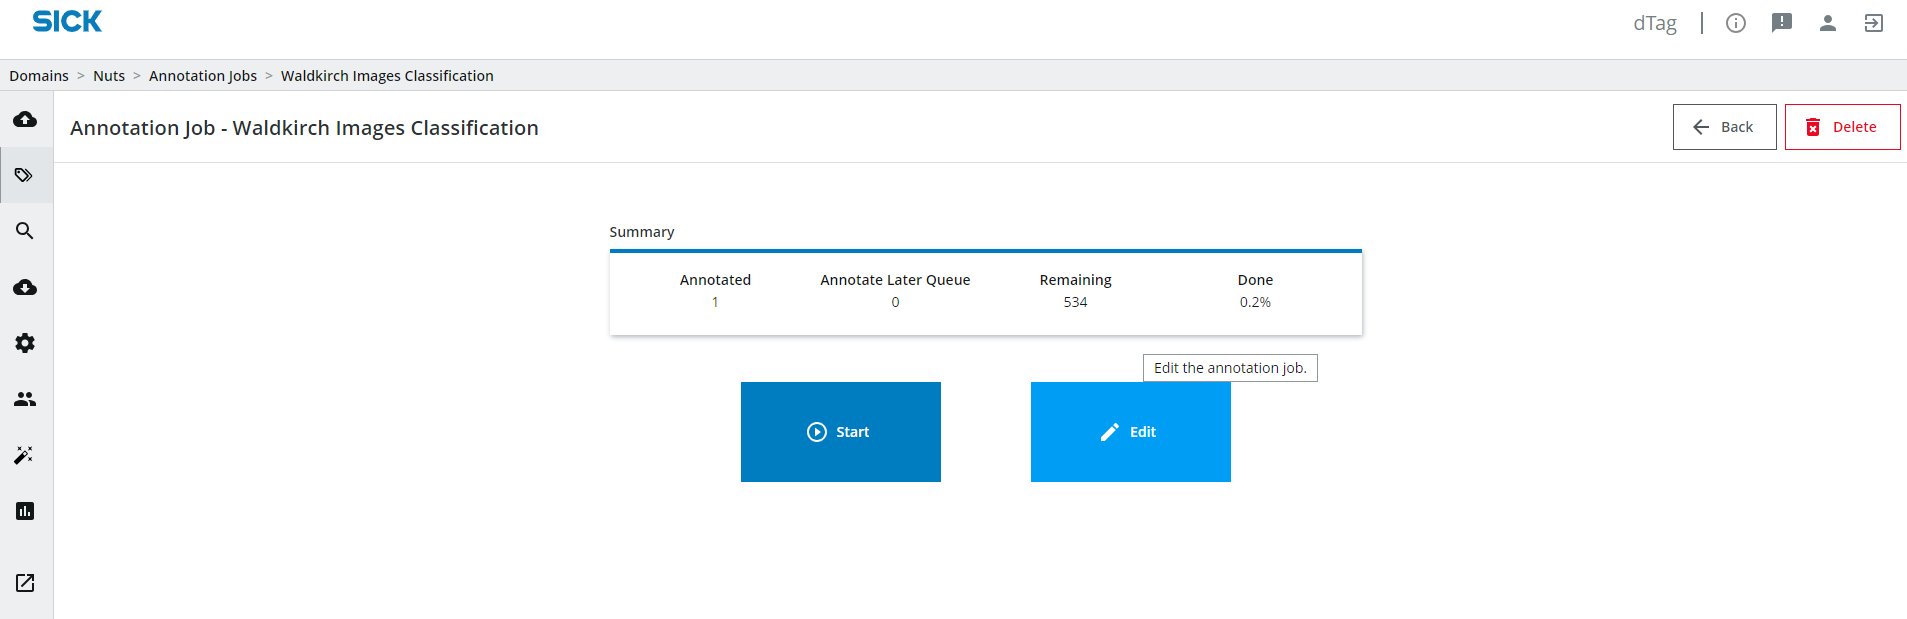
Click on the play button to the start the detail job.

You will see the instructions, which you can close and the annotation view.
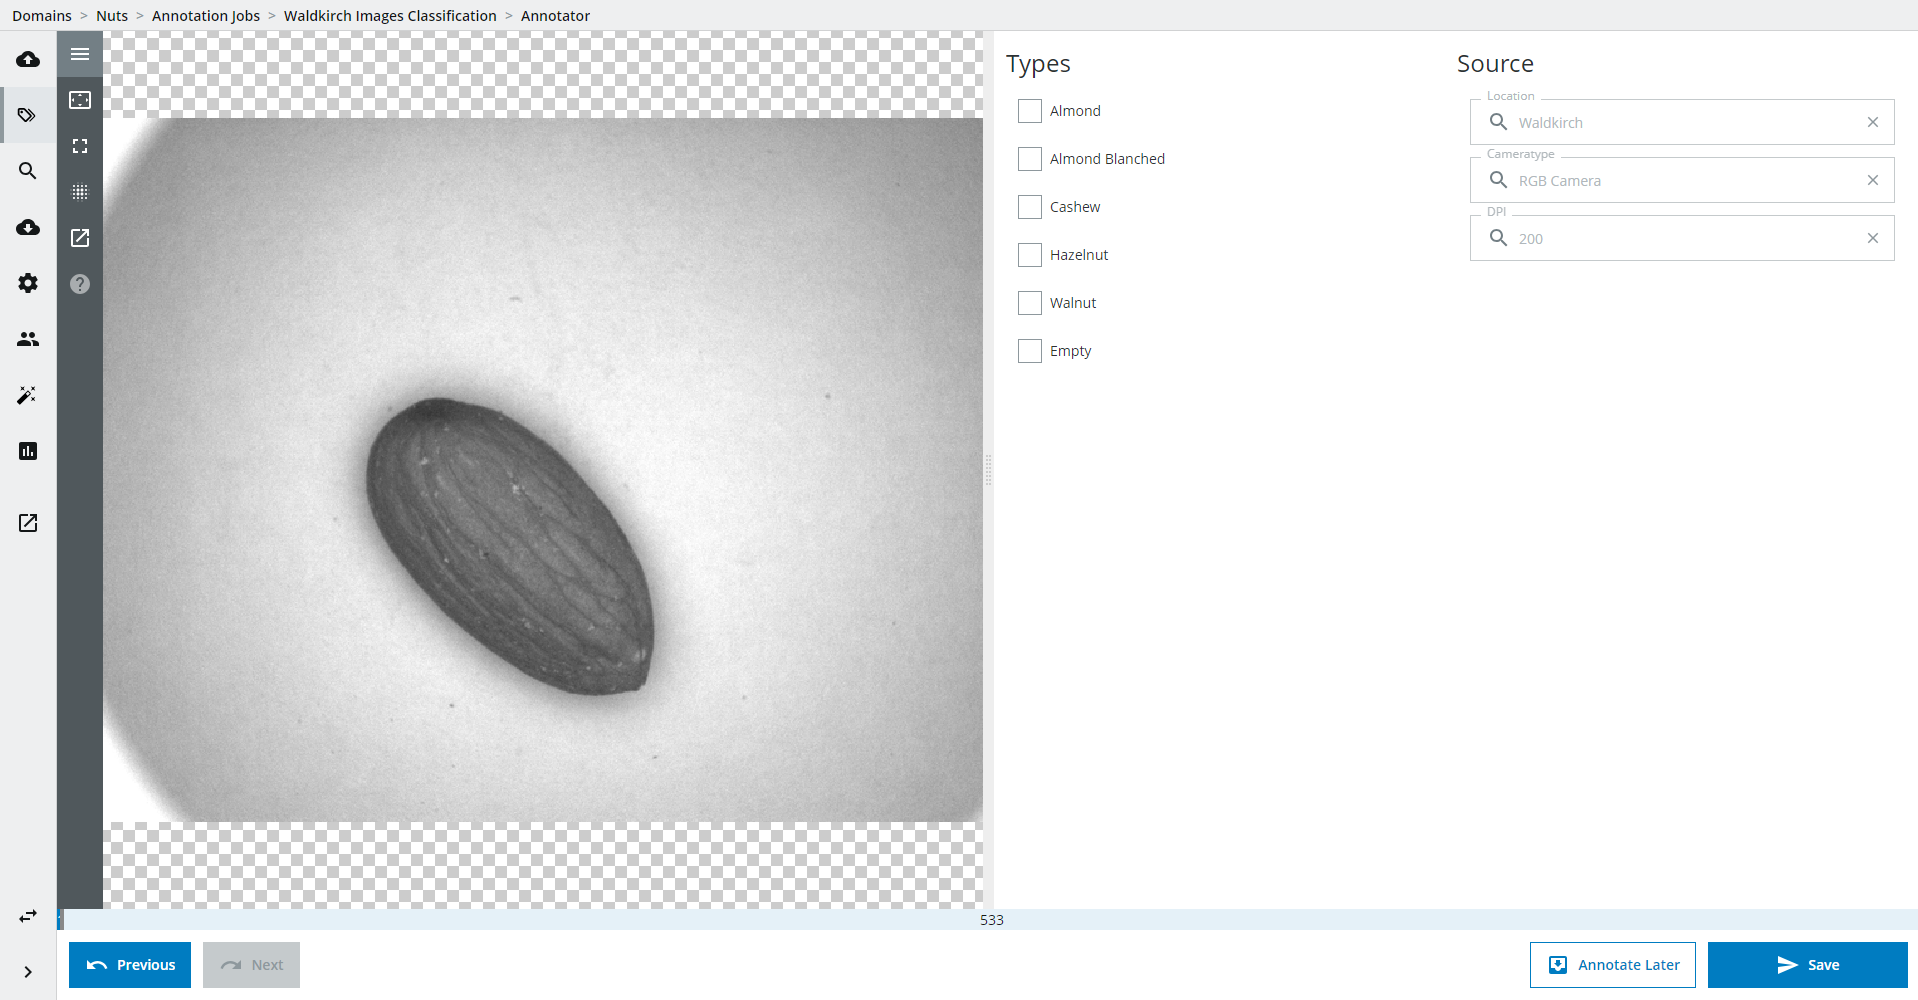
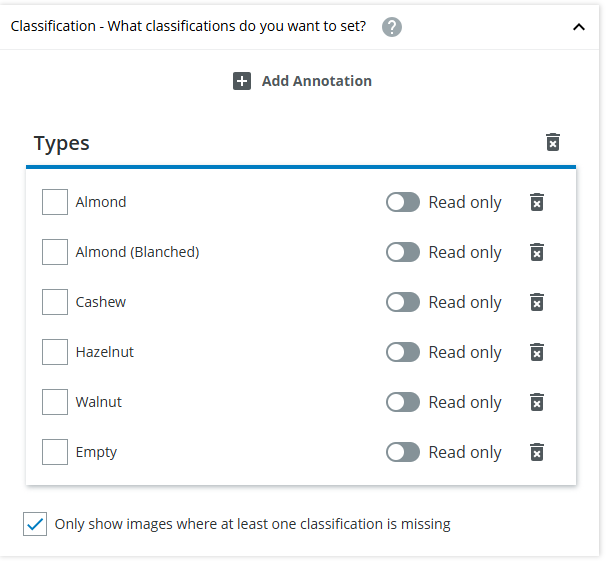
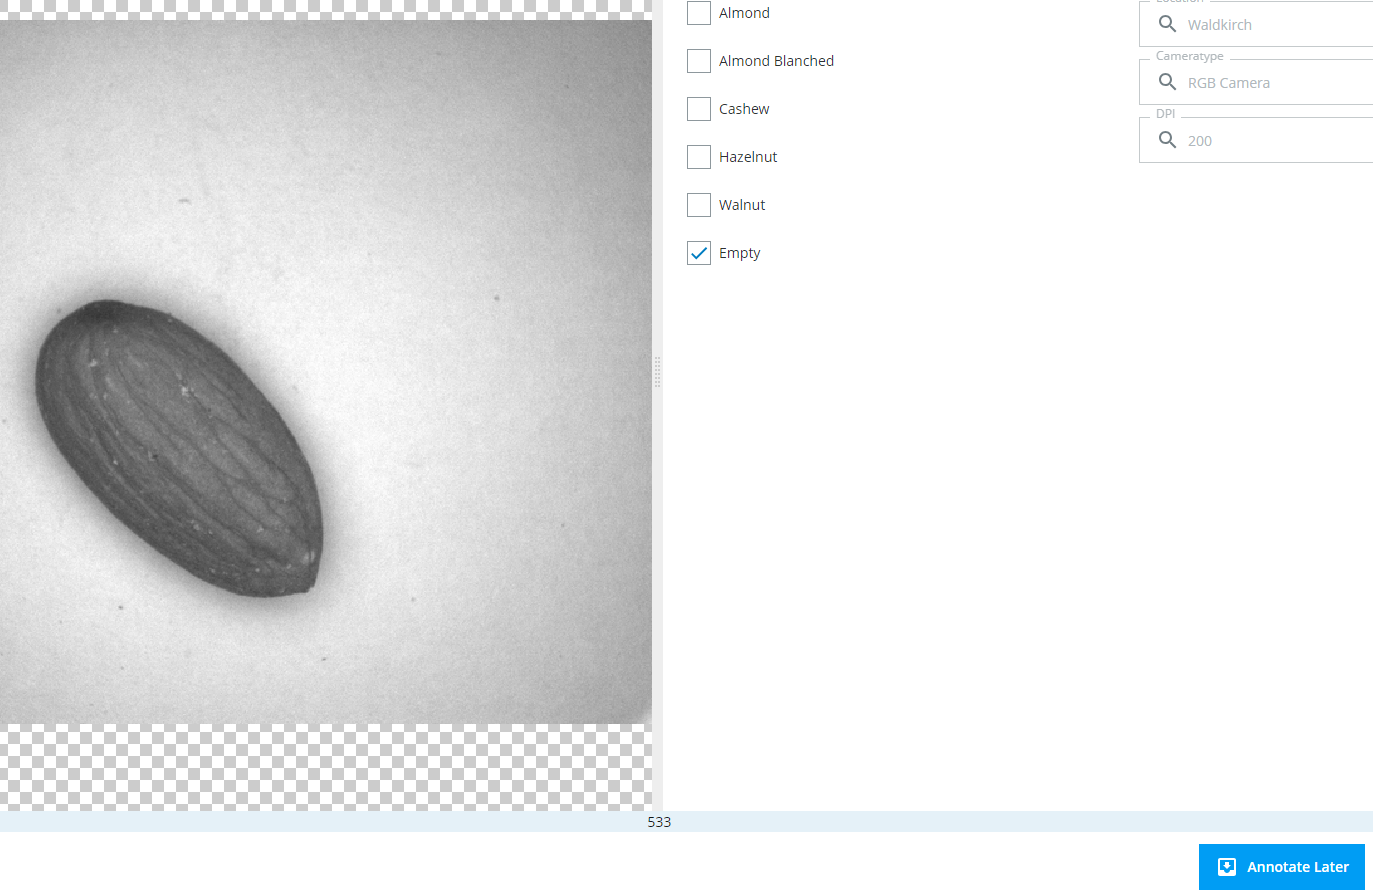
In the middle you see the current image, on the right panel you can see the classification annotations.
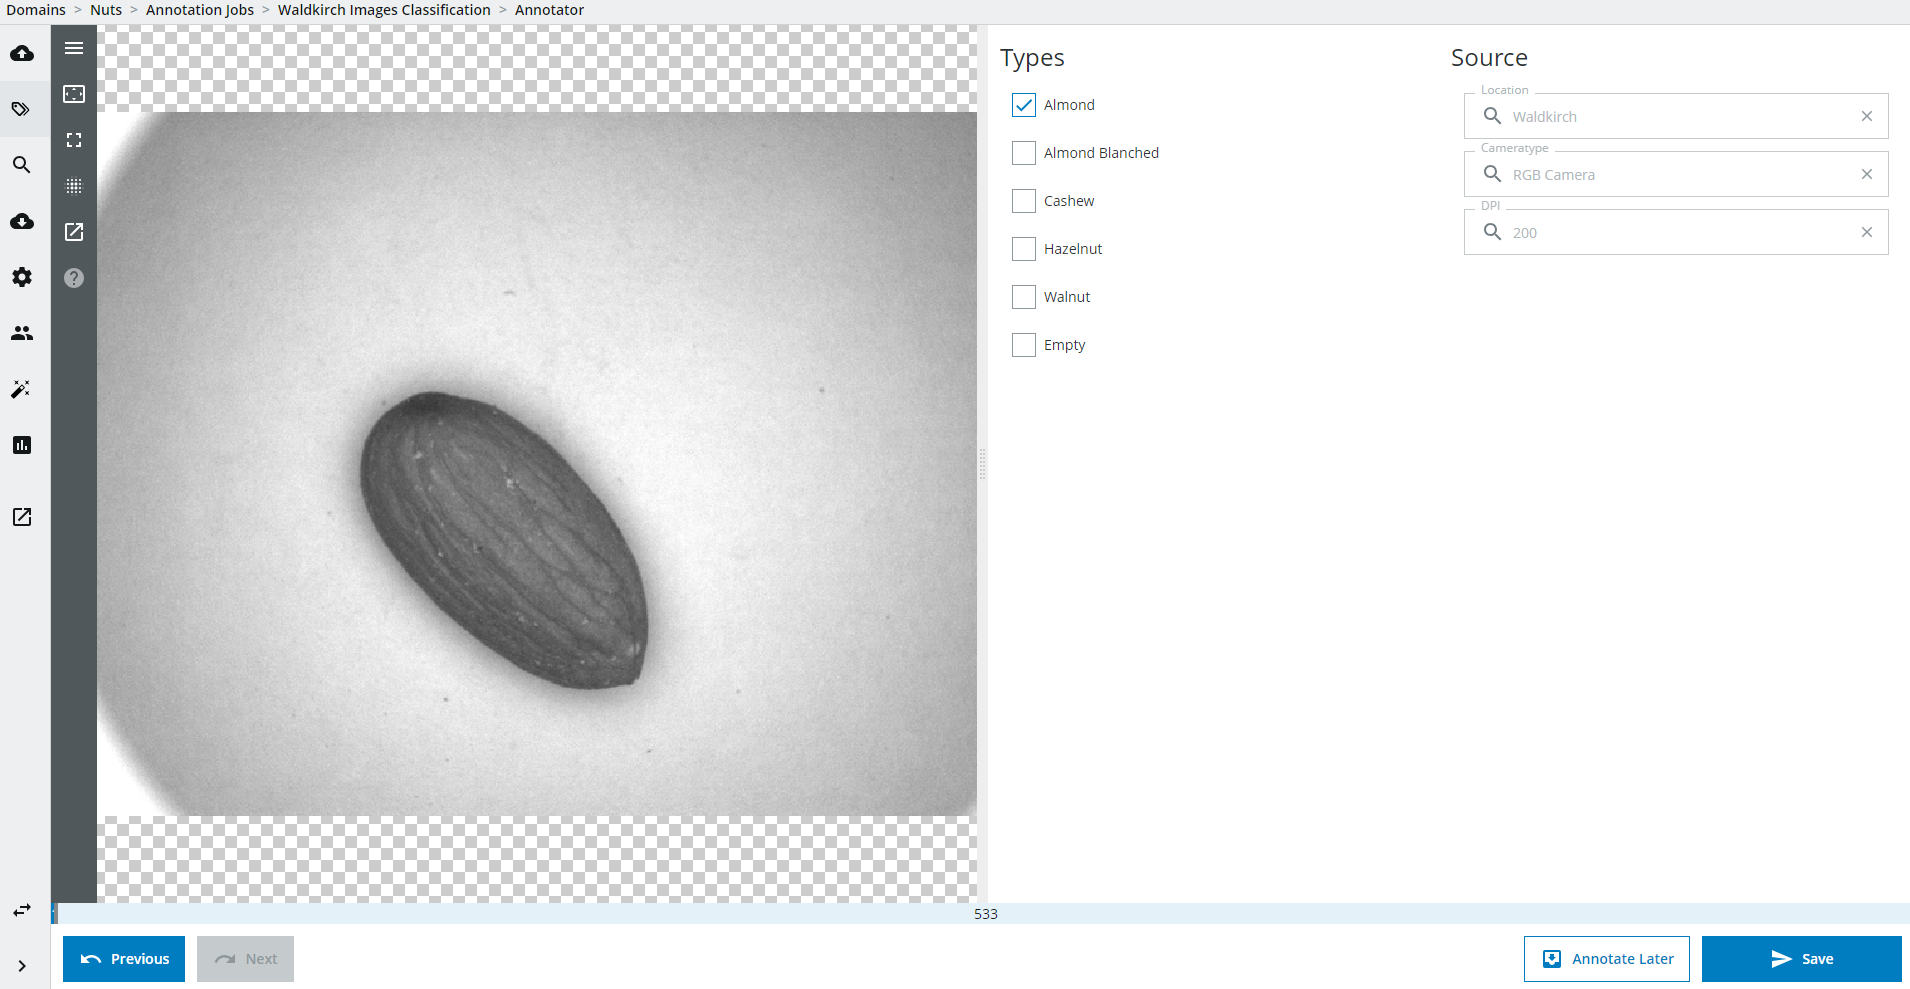
In the lower half you can see the progress of the annotation job which shows that 533 images are still left to do. Click the appropriate annotation, in this case "Almond". The annotations for Source are only for your information and cannot be changed.
Image Enhancements
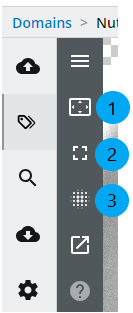
You can zoom into the image using the mouse wheel and center the image again by clicking the "Center" button (1) or pushing the space bar on your keyboard.
You can also annotate in full screen mode. Click the full screen button (2) to activate fullscreen mode. Press the Esc button to exit.
The images are shown in lower resolution to speed up loading time. To load the full resolution image click the load full resolution button (3).
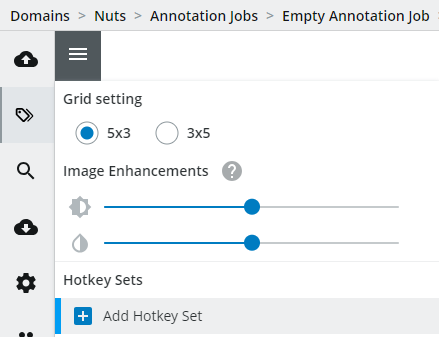
Be aware that this can slow down the loading of the images. You can also always load full resolution when checking the option in the menu.
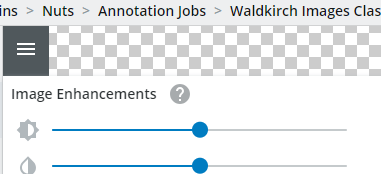
To brighten the image or enhance the contrast you can use the sliders in the menu.
Annotation
To proceed to the next image click the "Save" button. All annotations will be saved and you will see the next image.
Annotate a few more images.
Navigation
You can always go back ("Previous" button) to check if you are satisfied with the previous annotations. If you change something you can save it or you can move forward ("Next" button). Be aware, the "Next" button does not save any changed annotations, you have to click "Save". Click the "Next Unseen" button to jump to the newest image (only visible if you navigate back first).
Collaboration
Note, that multiple users can work on the same annotation job at the same time. They will be shown individual images.
Changing an annotation job
You realize that most images are empty so you want to set "Empty" as a default in the annotation job. Go to the annotation job landing page by either clicking on the annotation job in the annotation job list or clicking on the name of the annotation job in the top panel, then click the "Edit" button.
You will now see that editing is no longer possible since the annotation job was already started. Click on "Duplicate" and create a new annotationjob.
Change the default of the Types variable group.
Save and start the annotation job again. You will now see that each image has the default annotation "Empty". Since "Only show images where at least one annotation is missing" has been checked you will not see the history of your previously worked on annotation job anymore.
Note, that the default value is not yet saved, only after the "Save" button is clicked the annotations will be saved.
Changing an annotation job
Changing an already started annotation job requires a reset which means that all information about the annotation job history is lost, but of course no annotations. If you add a new variable to the annotation job, you will have to start in the beginning and review all the items again for which this annotation is missing. If you only change the default value of a variable you do not need to start in the beginning, but the already annotated data items will not be shown in this job anymore, since the history is removed.Classification Hotkeys
Since it is tedious to use the mouse for annotation you can create a hotkey set for doing classification annotations faster and more conveniently.
Default Hotkeys
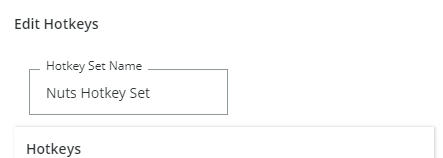
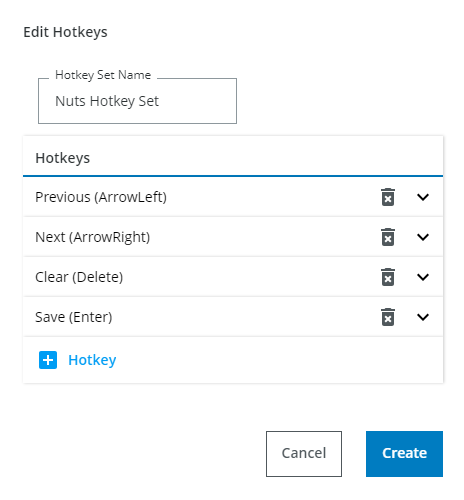
Click on "Add Hotkey Set" to create a default hotkey set.
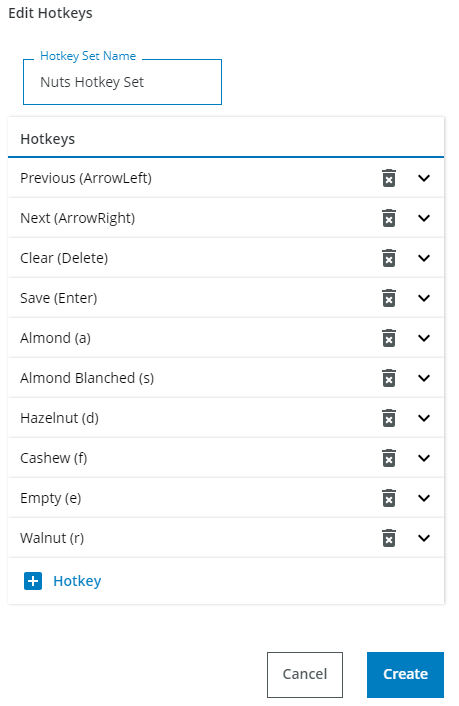
This hotkey set already holds 4 default hotkeys for the actions Previous/Next Image, Clear annotations and Save. Change the name of the hotkey set to "Nuts Hotkey Set".
Add a custom hotkey by clicking on the "Hotkey" button.
Classification Hotkeys
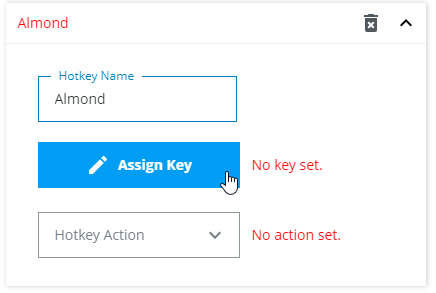
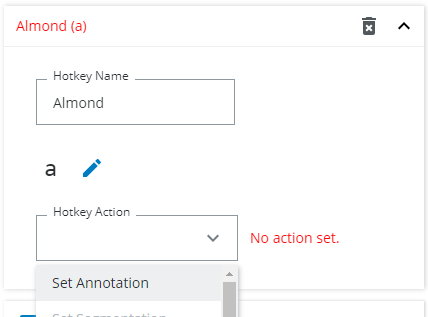
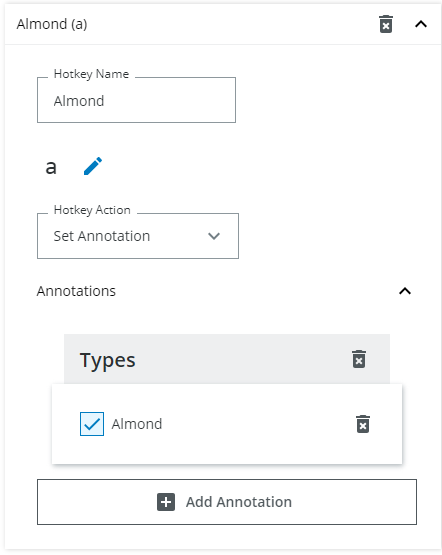
Change the hotkey name to "Almond" and assign a key stroke by clicking on the "Assign Key" button. Then click "a" key on your keyboard.
To define what the hotkey should do select the hotkey action "Set Annotation".
Add the annotation for almond.
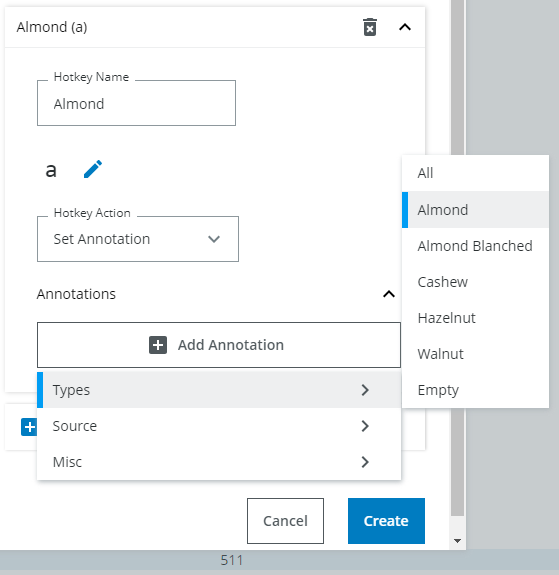
Do the same for the other types of nuts.
Click on Create to create this new hotkey set.
You can now use the defined key strokes to quickly set the annotations. Try it out and see for yourself how fast you can annotate!
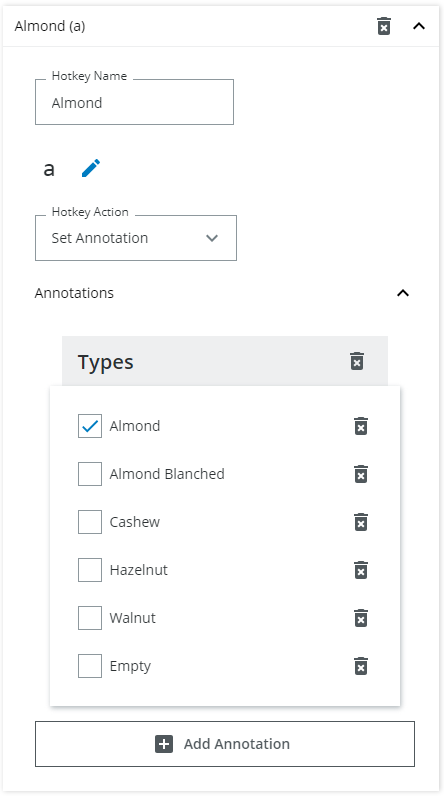
You notice that it is tedious to first delete the default annotation for "Empty" that you have set when defining the annotation job and then set another annotation like "Almond" afterwards. You change the previously created hotkey set to set the other types to false when you use the hotkey.
Hotkeys
Hotkeys can do different things, the 4 default navigation hotkeys are already specified. You can also add a hotkey for other tasks as toggling full screen mode or moving an image to the "Annotate Later" queue. You can set as many annotations as you want with one keystroke. Usability tests have shown, that most people like to use their left hand to set the annotations (which is why a, s, d, f are the most common keys to use for hotkeys) and use the right hand to navigate and save.Annotate Later
Imagine that you are not sure which type of nut is on the image, so you press the "Annotate Later" button. It will be moved into the "Annotate Later" queue and all annotation values that are supposed to be set in this annotation job are removed.
To review this image change to the "Annotate Later" queue:
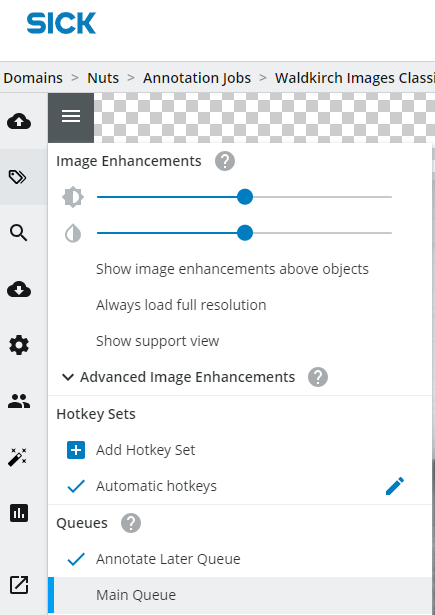
Annotate it there and save it. It is moved back to the main queue. Change back to the main queue.
The dark orange part of the progress bar indicates the number of images in the "Annotate Later" queue, for example in this screenshot 17 images are currently in the "Annotate Later" queue.

Annotate Later
It is not possible to go to the next image until the annotations have been saved. If you do not know what to annotate for the current image you can press the "Annotate Later" button. The image will be moved into the Annotate Later queue. All already set annotations (only the ones up for annotation in this annotation job) will be discarded until the image is annotated in the Annotate Later queue.
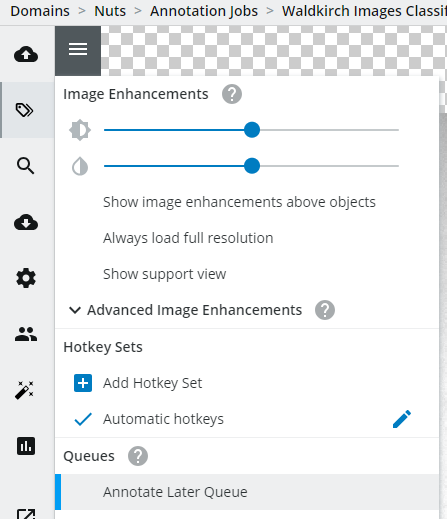
To review these images go to the menu in the upper left corner and choose "Annotate Later Queue".
Show images from other users
If you want to annotate images that somebody else has put into the Annotate Later Queue open the menu and check "Show images for all users".
Grid Annotation
After having annotated a few images, go back to the annotation job list and choose the grid job.
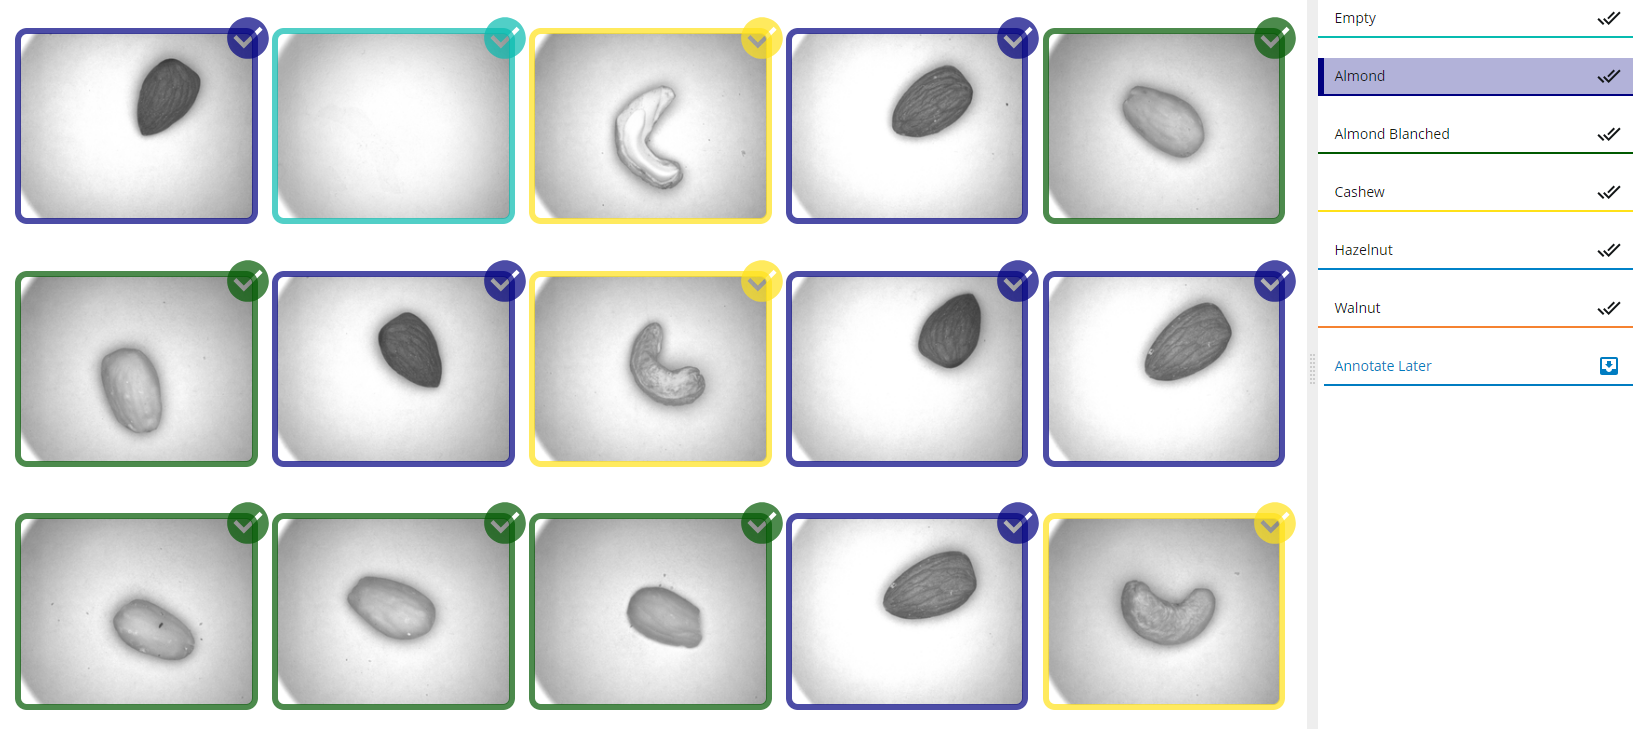
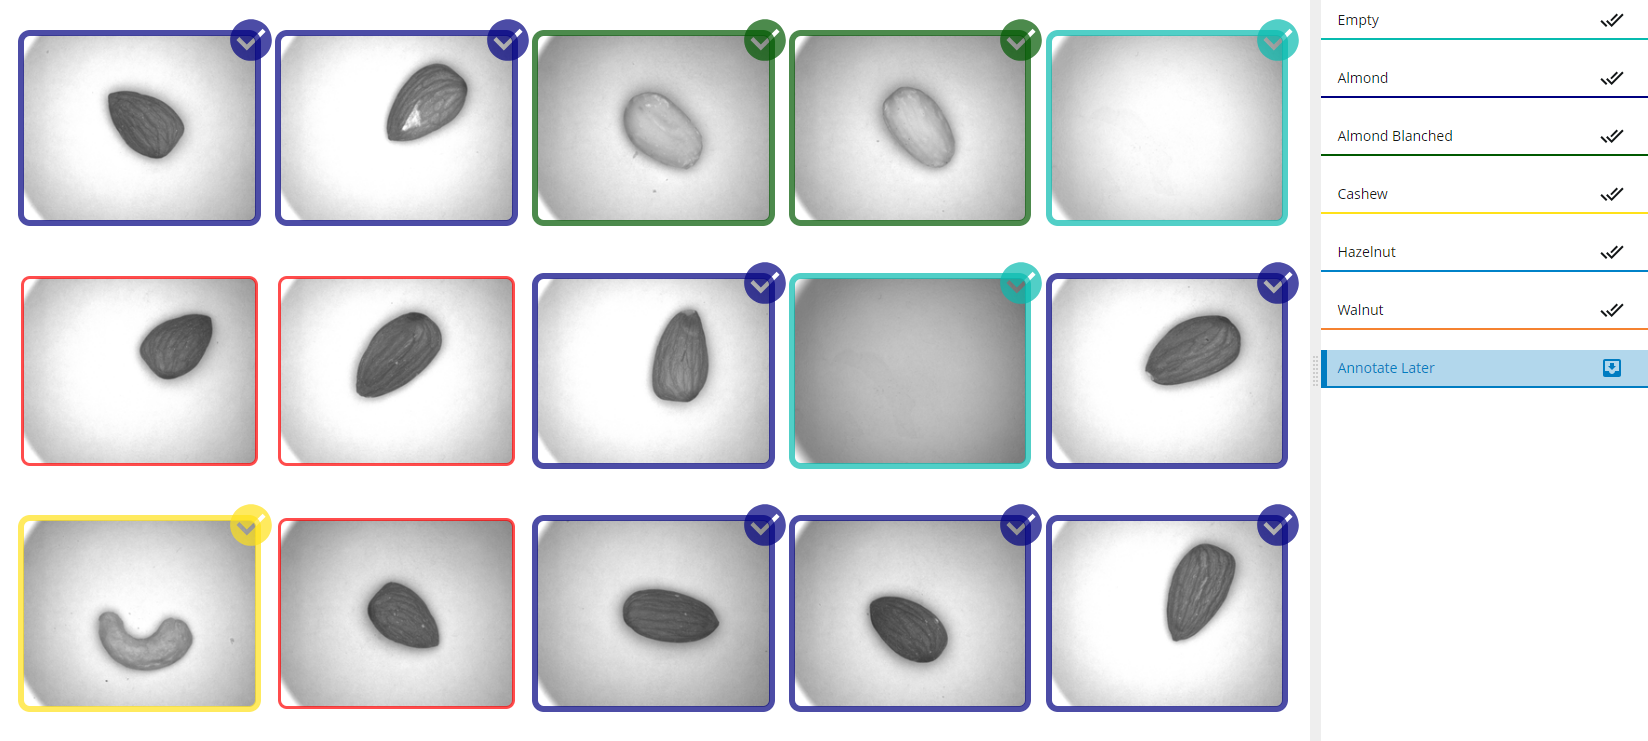
Mark every image with the corresponding marker by choosing a marker on the right panel and clicking on an image.
The red outline indicates that no marker has been set.
Once you are finished save all 15 images at once by clicking the save button.
If you want to stop annotating or it is not clearly recognizable what can be seen on the picture you can select the "Annotate later" marker on the right panel and click on the image. The border will turn red.
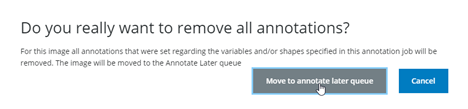
Click on Save. The following popup will appear.

Click on "Skip missing" to move the one image to the Annotate Later Queue (see 5. Annotation-AnnotateLater).
Select all
You can also select all images and give them the same marker by clicking the select all icon.

Marker Hotkeys
You can also create a hotkey for every marker. In a grid annotation job add a new hotkeyset and add a new hotkey:
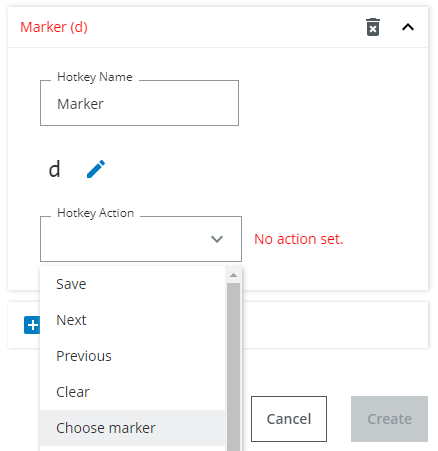
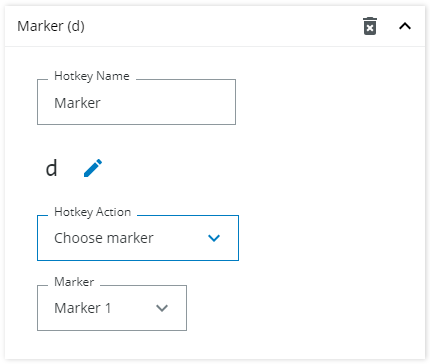
Then save the hotkeyset.
Now when hitting the hotkey "d" the first marker is selected and you can start marking images with your mouse.
You can also create a hotkey for the Select all option of the marker. This will mark all images with the currently selected marker.
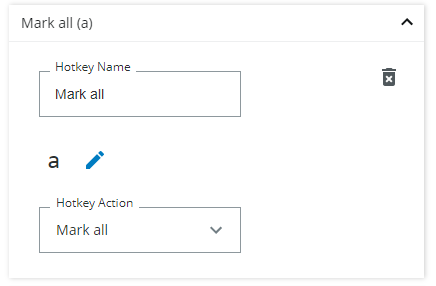
Try it out by using the hotkey d for the second marker and then using hotkey a for marking all images with this marker.
You can also select the "Annotate later" marker using a hotkey. Define this hotkey like this:
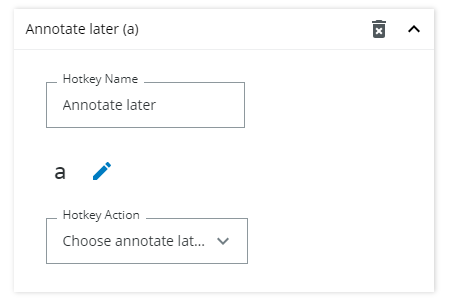
Marker Hotkeys
Since hotkey sets are applicable in every grid annotationjob independent from the variables that can be set there you can only select the marker number. So the hotkey for marker number 1 will always be the same over all grid annotation jobs that you may have. You will only see hotkeysets with markers in a grid annotation job and the other hotkey sets in a detail annotationjob.Reviewing annotations
Learn more about how to set up an Annotation Job for reviewing annotations in the Review Jobs section.