Domain Creation for Classification
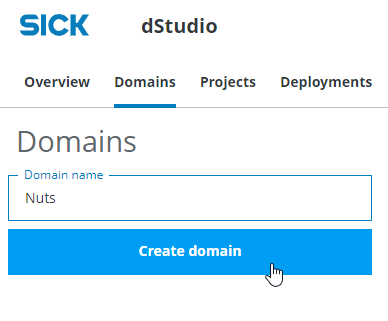
Login to dStudio, click on Launch dStudio, then click on the Tab "Domains". To create a new data domain enter the domain name "Nuts" and create a new domain by clicking on "Create domain".
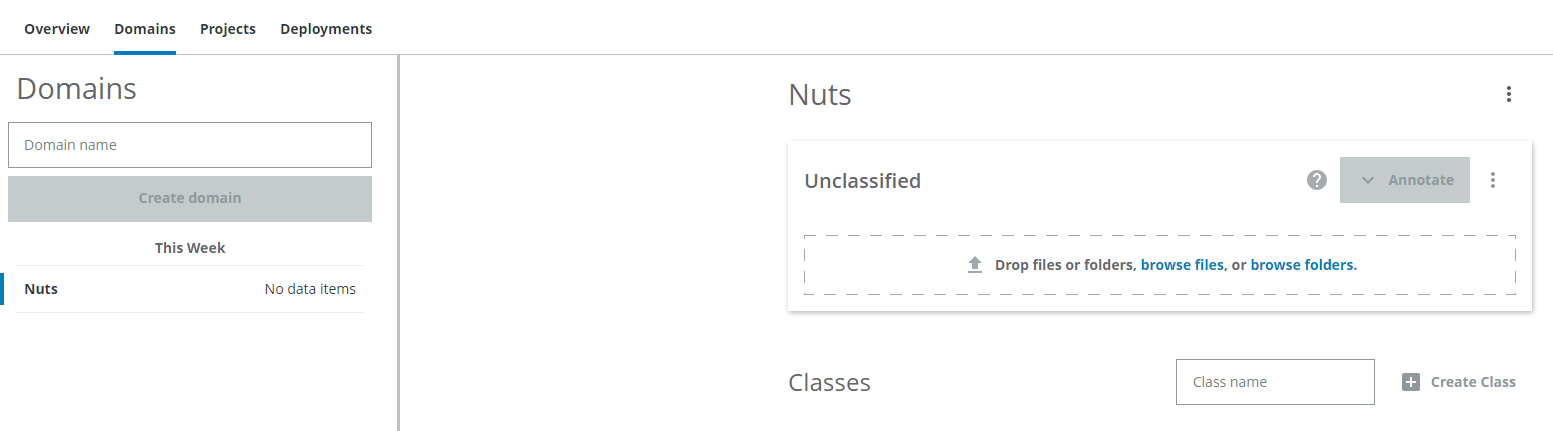
The domain now looks like this:
Domains
A domain holds all the data that belongs to one application. For our application "Nuts" all images belong to this domain. For another application that might have to do with images of bottles a new domain would be created to hold all the "bottles" data. If you have applications with overlapping data, they should be in the same domain, because you cannot share or combine data from different domains, they are strictly separated. Data from different locations for example can still be separated by setting annotations. Note, that you can always edit the domain even after you have imported images. You can add new classes, change the names of already existing ones or delete classes (but all corresponding annotations will also be deleted).Adding classes
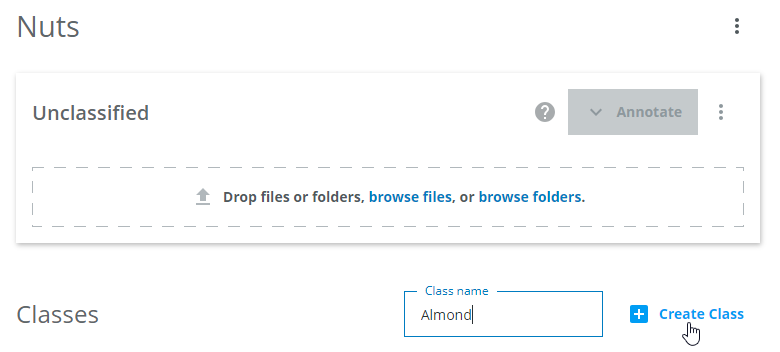
There are different classes to distinguish: Almond, Almond Blanched, Walnut, Cashew, Hazelnut and Empty (no nut in the image). Add a class for each type by entering the name and clicking on "Create class"
Importing data
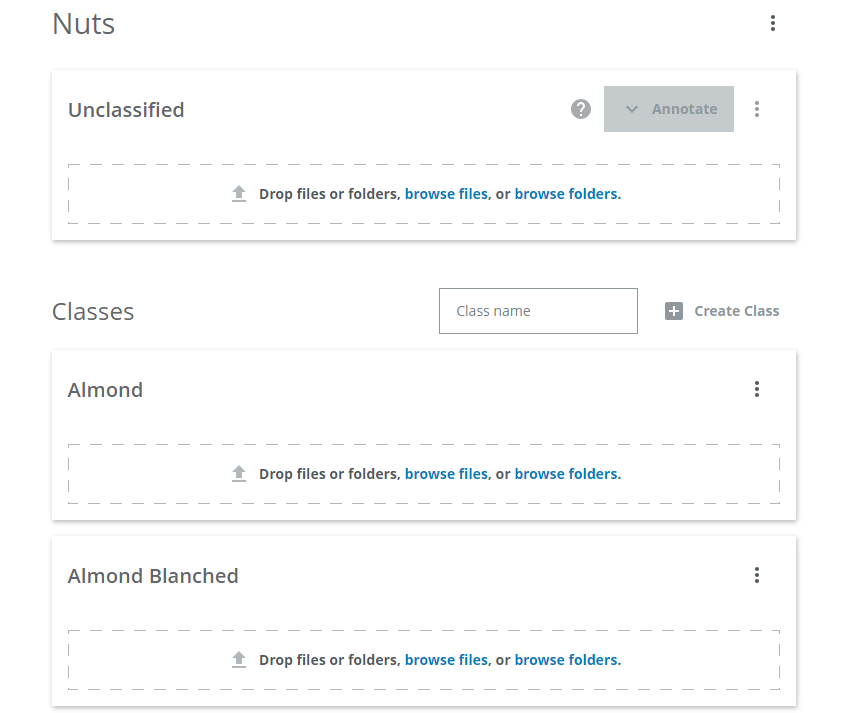
There are now 6 classes to fill with images.
Importing presorted images by class
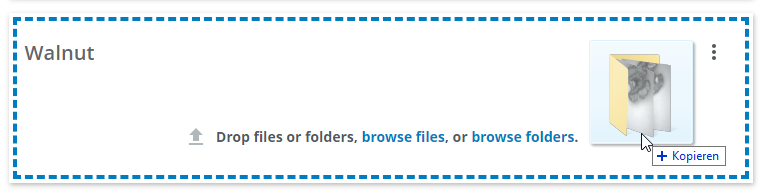
Open the data folder you have downloaded from here. Drag and drop the folder labeled "walnuts" which contains already presorted walnut images into the walnuts class.
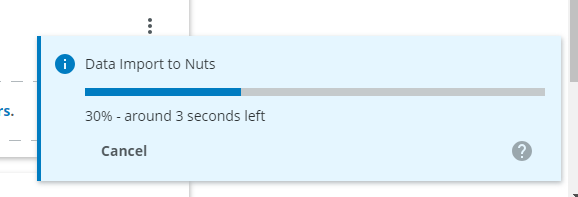
The import of the data will take a few seconds:
You can add multiple folders at once, just drag and drop them onto the respective class or onto the "Unclassified" area. They will be imported after each other.
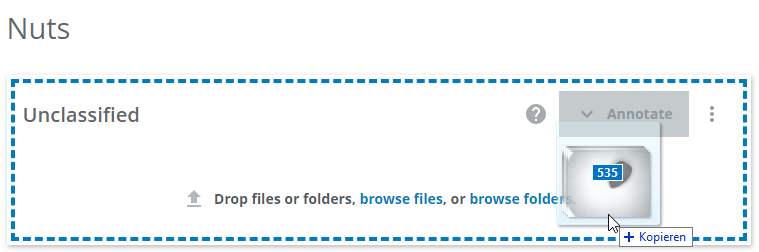
Importing unclassified images
The rest of the data is not sorted yet, import all the others files as unclassified files by dragging and dropping the files onto the "Unclassified images" drop area. You can import more images at any point in the workflow.
This will take slightly longer. Do not reload the page while the upload is running.
The next step is to annotate the unclassified images, which is covered by the next part of the tutorial Annotating images.